• Menu
  • Skip to primary navigation
  • Skip to main content
  • Skip to primary sidebar

Serger Pro

  • Home
  • Serger Machine Reviews
    • All Serger Reviews
    • Overlock & Serger Machine Brands
    • Brother Sergers
      • Brother 1034D
      • Brother 1034DX
      • Brother 1134DW Serger Review
      • Brother 1634D
      • Brother 2340CV
      • Brother 3234DT
      • Brother 5234PRW Serger Review
      • Brother Designio Series DZ1234
      • Brother ST4031HD
      • Brother XL 2600 Sewing Machine
    • Elna Sergers and Overlock Machines
      • Elna 664 Pro Serger Review
    • Janome Sergers
      • Janome 3434D Serger Review
      • Janome 8002D
      • Janome 6234XL Review
      • Janome Four-DLB Serger Review
      • Janome Harmony 7933
      • Janome CoverPro 900CPX
      • Janome CoverPro 1000CPX
      • Janome Magnolia 7034D
      • Janome MOD-8933
      • Janome MyLock 204D
      • Janome MyLock 634D
    • Juki Sergers
      • Juki MO-50E
      • Juki MO-104D
      • Juki MO-114D Serger Review
      • Juki MO-623
      • Juki MO-644D Portable
      • Juki MO-654DE
      • Juki Pearl Line MO-654DE
      • Juki Pearl Line MO-655
      • Juki MO-735
      • Juki MO-1000
      • JUKI MCS-1500
      • Juki MO-6716
    • Singer Sergers
      • Singer 14CG754 ProFinish
      • Singer 14J250 Stylist II
      • Singer 14SH654
      • Singer 14SH764CL Stylist
      • Singer 14T968DC
    • Tacony Sergers
      • Tacony AH100
    • Miscellaneous Serger Reviews
      • Bernina L460 Serger Review
      • Costway Serger Sewing Machine
      • Pfaff Coverlock 3.0 Serger Review
      • Toyota SL-1T Serger Review
  • Serger Comparisons
    • Best Embroidery Machines
    • Best Sewing Machines for Quilting
    • Best Sewing Machine For Beginners
    • Best Overlockers for Beginners
    • Best Self-Threading Sergers
    • Best Sergers With Coverstitch
    • Serger Vs. Coverstitch
    • Overlocker/Serger vs Coverstitch Machine
    • Serger Vs Serger
      • Brother 1034D vs. 1034DX
      • Juki MO644D Vs Brother 1034D Comparison
      • Singer 14SH654 Vs. Brother 1034D
      • Singer 14CG754 Vs. Singer 14SH654
  • Serger Guides
    • Beginner’s Serger Tips
    • Best Serger Accessories
    • Choosing the Right Thread
    • Serger sewing
    • Serger/Overlock Stitch Guide
    • Traveling With A Serger
    • Shopping for a Serger
      • 5 Factors to Consider Before Buying a Serger
      • Serger Sewing: Buying Your First Serger Machine
      • Understanding a Serger
      • Why I Love Sergers
      • Why You Need a Serger
  • About

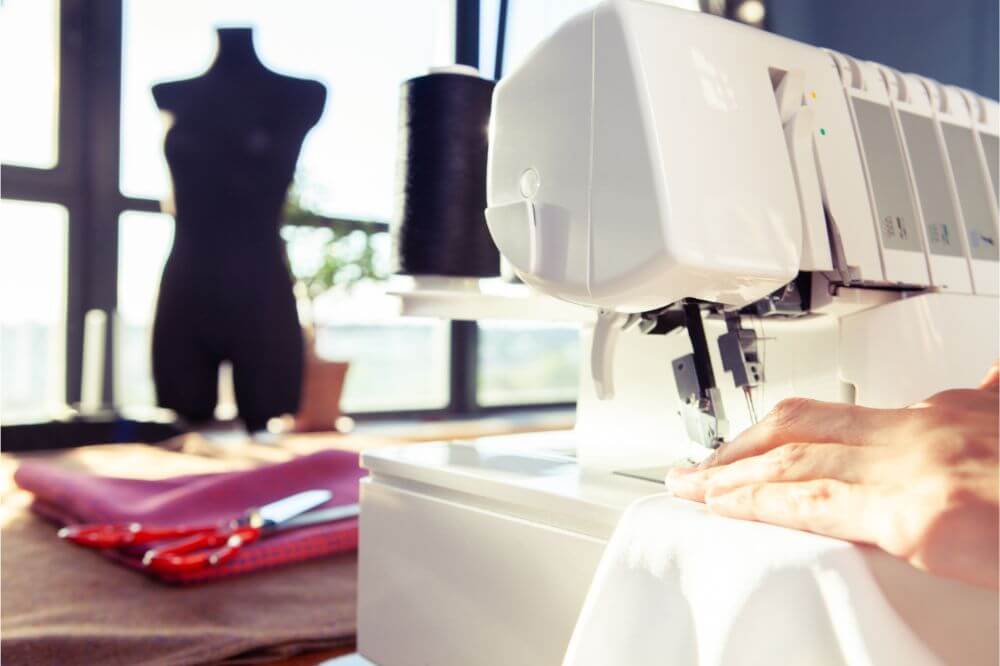
Serger machines are of course very useful tools when it comes to making garments and clothing. One of the reasons for this is because they can perform 3 tasks in one simple go. A serger machine has the ability to sew a seam, cut off the extra seam allowance, and also to overcast the edge of the fabric.

With that being said, sometimes things do go wrong. You might not have enough practice with a serger machine, which can result in an unideal result. Maybe you just used the wrong kind of stitch. Whatever the case may be, sometimes you might have to remove those stitches and start over from scratch.

If this is the case, you will have to unpick those serger stitches. How to unpick serger stitches is exactly what we are going to teach you today. As you are about to find out, this process is quite fast and easy.

How to Unpick Serger Stitches

When you look at the serger stitches that the machine produces, you will see that each chain contains two straight stretches, which are created by the right needle and the left needle, as well as both looper threads. You might think that unpicking serger stitches requires you to remove the loops first, which can be fairly intimidating.

However, if you take a much closer look at the looper threads, you might notice that the right and the left stitches aren’t what keeps the seams together. Therefore, removing those loops, or the right and left stages first, is going to be the easiest way to go about this.

The easiest way to perform this task is by using a so-called seam ripper, the exact same tool that you would use for removing regular stitches on a sewing machine. Today, we’re going to teach you exactly how to use a seam Ripper to unpick serger stitches.

How to Unpick Serger Stitches

Removing Serger Stitches the Easy Way

The only thing that you are going to need to perform these tasks realistically is a seam ripper, and of course a surged seam as well. Let’s go over and easy step by step tutorial on exactly how to unpick those surgeries seams.

  1. The first step here is to take the fabric that you are looking to unpick the stitches on, and place it right side up. This is the side that was facing upwards towards the serger foot. If you can’t remember what side it is, it is easy to tell. On the right side that should be facing up, you are going to see two straight seams. The wrong side that should be facing downward will have spots and loops.
  2. Here, you are going to take your seam ripper and place it in between the loops, where they come together to form a V.
  3. For left and right needle stitches, you are going to take the seam ripper and pass it under the straight seams. It tends to be easiest if you pick up both of the seams at the same time using the seam ripper, but only cut the stitch on the left.
  4. Now, you are going to use tweezers or your hands, and you’re going to grab the end of the left stitch that has already been cut, and pull as much of it as you can, until the thread breaks. If you get lucky, you might actually be able to pull up the entire line of stitches.
  5. You are now going to repeat this exact same process, pulling out the cut stitch, for the second thread, or the right needle stitch.
  6. If at any point the seam or the thread breaks before your done unpicking the full length of the seam, you will simply have to repeat the steps as listed above.
  7. At this point, you should now also be able to remove the stitches from the lower looper and the upper looper. They should come out without much effort, and you should be able to just pull them out, seeing as they don’t have any support.

Conclusion

As you can see, as long as you have a seam ripper, removing stitches that a serger has created is fairly easy and fast.

Primary Sidebar

Featured Articles

Best Sergers
Best Self-Threading Sergers
Best Sergers With Coverstitch
Serger Threads to Buy
Must Have Serger Accessories Serger Projects for Beginners
How To Sew A Face Mask

Popular Reviews

Brother 1034D
Brother 1034D vs. Brother 1034DX
Brother Coverstitch 240CV
Brother DZ1234
Janome Mod 8933
Juki Portable MO-654DE
Singer 14sh654
Singer ProFinish 14cg754
Singer 14t968dc
SergerPro.com · About · Contact Us · Privacy Policy · Terms of Use · Disclosure · Copyright © 2024
Disclosure: sergerpro.com is a participant in the Amazon Services LLC Associates Program, an affiliate advertising program designed to provide a means for sites to earn advertising fees by advertising and linking to amazon.com.
7ads6x98y