How To Serge Fabric
Serger machines, similar to sewing machines, are designed to create a variety of stitches into fabric. However, a serger machine is a bit more specialized than a regular sewing machine.
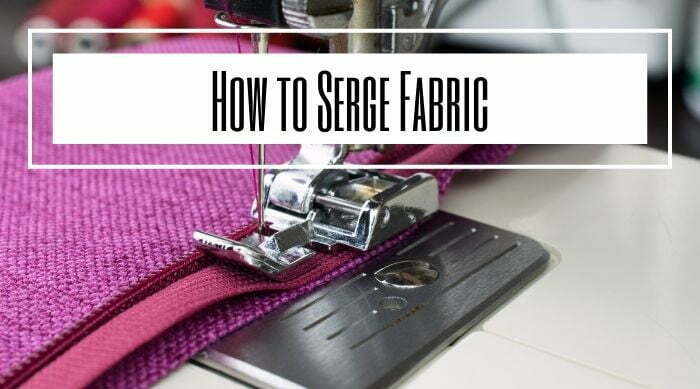
The main purpose of a serger is to join together two or more pieces of fabric, while also performing other tasks. A serger machine actually stitches a seam, cuts off the excess seam allowance, and overcasts the edge, all in one pass.
If you need to overcast edges and cut away seam allowances, a serger will make quick work of it. This is especially when compared to a sewing machine. That said, how to serge fabric is something that all newbies wonder.
Now, do keep in mind that this is going to be a general guide on how to use a serger. This is due to the fact that there are many stitch types that a serger can make. It also has to do with the fact that a serger can work on many different fabrics.
How to Serge Fabric: Step by Step
Right now, we want to provide you with a step by step tutorial on how to serge fabric. In other words, this is a beginner’s tutorial on how to use a serger.
1. Threading the Serger
Before you can get to doing anything at all, you will need to thread the serger. Keep in mind that the serger should be turned off while you are threading it, mainly for safety reasons. Threading sergers can be difficult, but most modern models come with color coded threading guides.
Remember that the spools have to be threaded in the proper order too. The best thing you can do is to look at the threading diagram on your serger machine.
Remember that different sergers have different thread capabilities too. For instance, a three thread serger will have a single needle thread, and a lower and upper looper. A four thread serger will have two needle threads and two loopers.
You are first going to thread the upper looper. Pull the upper looper thread so that it rests below the needle. Then, remove the faceplate and pull the thread through the metal loops under the serger’s plate. You are now also going to thread the lower looper, and then the needles.
2. Making Adjustments
Before you can start using your serger, you do need to make some important adjustments. To make adjustments, you are now going to want to plug the machine in and power it on.
The first thing you need to do here is to choose the type of stitch that you want to make. There are many overlock, flatlock, rolled hems, and other stitch types that sergers can create. You therefore want to do a bit of research so you can choose the proper stitch type for the job at hand.
Once you have chosen the stitch type, you then want to adjust the thread tension for each spool. No worries, because the manual for your serger should tell you the exact amount of tension required for each spool depending on the stitch type. You may also need to adjust stitch length and width, although for beginners this should not be necessary.
You do want to do a practice run first. That said, you don’t need fabric in the machine to do this. Simply run a practice stitch to see what the stich will look like. If the stitches are loose and sloppy, increase the tension. You can now run a test on a scrap piece of fabric. If the fabric is really bunched up or puckered, decrease the tension.
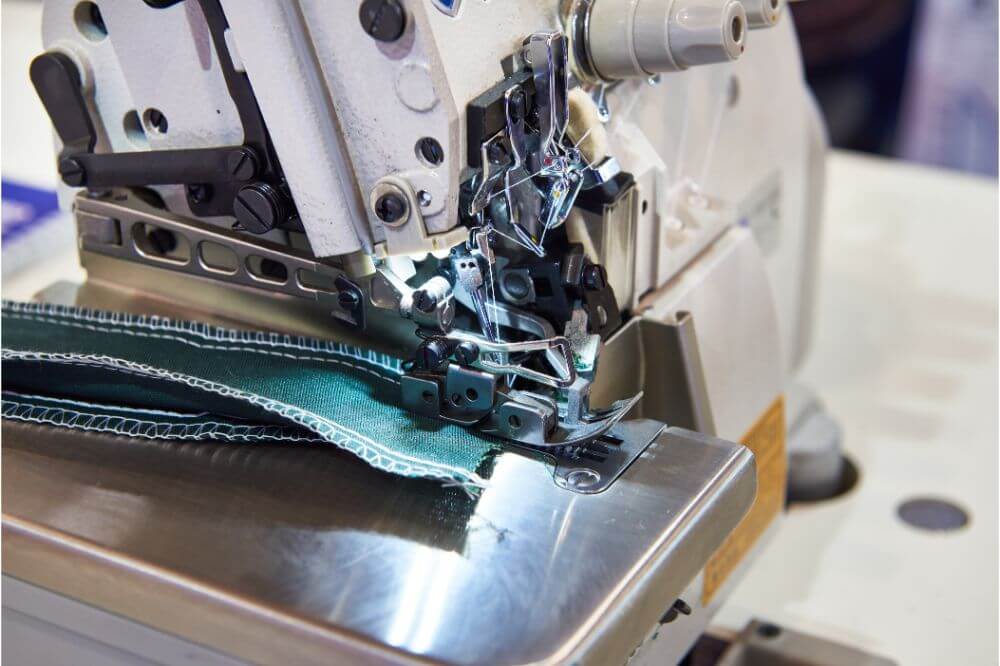
3. Creating Your Stitches
Now it is time to make your stitches, or in other words, to finish those seams. To insert fabric, you first need to lift both the needles and the presser foot. To raise the presser foot, lift the presser foot lever. To raise the needles, turn the needle dial towards yourself.
Now, take your fabric and gently push it under the presser foot and the needles. Turn the dial again to lower the needles, and also lower the presser foot. You now also want to set the seam allowance, depending on what your needs are.
Now comes the fun part. Using the foot pedal, you are going to control the speed of serging. Press very lightly at first to ensure good speed control. Also, don’t push or pull on the fabric.
Just keep the fabric straight, and the machine will do the rest of the work for you. Keep sewing until the seam has been fully closed. Keep serging for about another inch past the seam. You can then just cut the chain of stitches off afterwards.
Using a Serger Machine – Final Thoughts
As you can see, using a serger is really not all that difficult. With most machines, perhaps the most difficult part of all is threading. That said, there is a bit of trial and error involved here. The best thing that you can do is to start with some scrap fabric, just until you get the hang of your serger.